 |
|
|---|---|
 |
21.
Change the canvas mode back to "Image" from "Mask"
by clicking the same button in L-panel. Let's paste the stripe pattern into the text. |
 |
22.
Click "View"- "Grid" and this dialog will show up. Input the same figure as width of margin around the text you used in the previous section, in both boxes of "Width" and "Height." Make sure to check the option of "Snap". |
 |
23. This is how the canvas looks with the grid shown. |
 |
24.
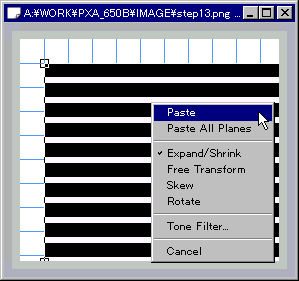
Activate the canvas of the stripe pattern, and click "COPY"
icon in the tool bar. Next activate the canvas with the text with the grid shown, and click "PASTE" icon in the tool bar. Now the stripe pattern will show in the canvas of the text. Drag the pattern and exactly adjust the left top corner to that of the text. Make sure the corner snapped to the grid, and then right-click on the pattern, choose "Paste". |
 |
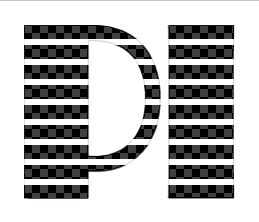
25.
Now we finally got the text with the stripe inside! Click "View" - "Grid" from the top menu, and the grid will be out. Let's take the mask out, too, by clicking "Image" - "Initialize Mask". |
 |
26. Now let's delete the black lines at the edge of the text. |
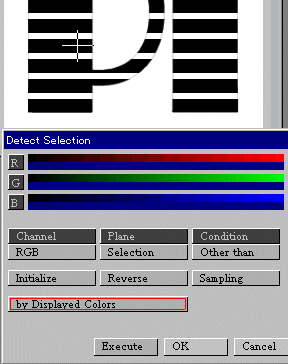 |
27.
Here we will delete the unnecessary pixels. Click "Selection" - "Detect Selection" and the dialog will show up. Change the "Condition" to "Other than", and click "Sampling" button. When the pointer changes to cross-shape, drag in the black part of the stripe (not the thin outline of the text), and then right-click to change the pointer back to the original shape. Click "Execute" button and selection will be determined. |
 |
28.
Now colors "other than" black are selected. Click "OK" to close the dialog. |
 |
29.
Set the current color to white, and click "Fill" icon in the
tool bar. Click "Deselect" icon in the tool bar to release selection. See the result in the next picture at 30. |
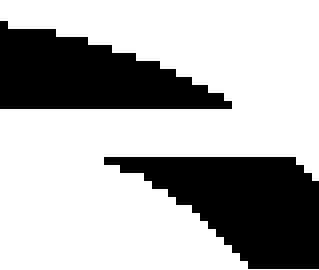 |
30. You see the lines between the stripes are deleted. | 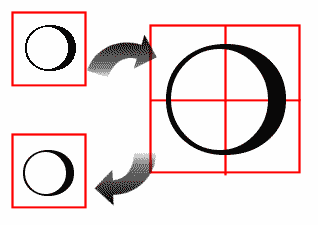 |
31.
The outlines of the black parts look jaggy so we would like to apply "anti-alias"
to the outlines to make them smooth. Click "Image" - "Make Resized Duplicate" and double the size of the picture, and then again do the same and change the size of the picture half to get the original size. |
 |
32.
Here is the new canvas after 31. |
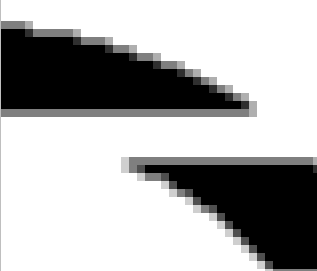 |
33.
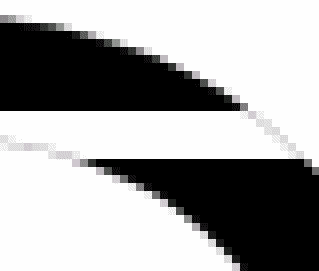
If you magnify the edge, you will notice the outlines of the text look
smoother. This picture will become the base image of the logo. |
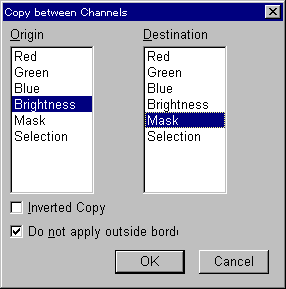 |
34.
Before pasting a picture, or fill color or gradation in the text, we
need to mask the part that we do not want to process. Click "Image" - "Copy Between Channels", set "Brightness" at origin, "Mask" at destination exactly as we did before, and click "OK" button. |
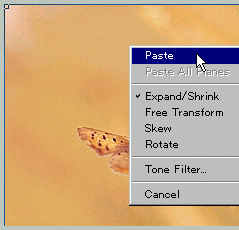 |
35.
The picture I use here is not the same as the one used in the picture
at the top page of this tutorial. Click "Edit" - "Paste from File", and choose the picture that you want to paste in the text. The picture will be shown in the canvas. Drag it to the desired position, right-click and choose "Paste" in the menu. |
 |
36.
The picture is pasted in the text. (You see the masked part is now affected.) If you do not like the result, click "UNDO" icon in the tool bar, and adjust the picture again. |
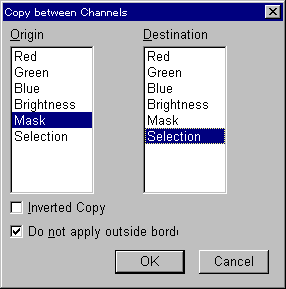 |
37.
Now we finally add "Drop Shadow" to the text! We need to make the white part transparent in order to add drop shadow. Click "Image" - "Copy between Channels", set "Mask" at origin, "Selection" at destination, and click "OK" button. |