 |
|
|---|---|
 |
1.
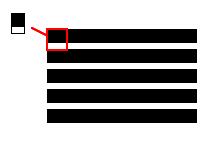
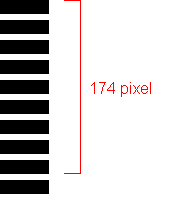
First of all, let's make a stripe pattern that we will later paste in
the logo. We will make a pattern with the width of black 14 pixels, and the width of white 6 pixels as the sample. |
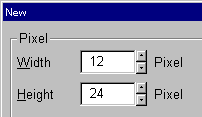 |
2. Make a new canvas with a size that the stripe pattern will just fit. 12 pixels wide and 24 pixels high. |
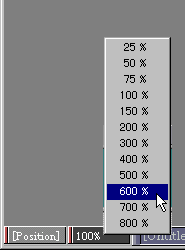 |
3.
The canvas is too small to work on. Let's magnify the canvas. Click on the percentage in the status bar at the bottom of Pixia window, and the list of magnifying ratio will pop up. Choose 600% in the list. |
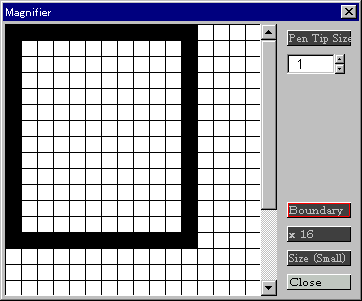 |
4.
Click "Loope" (Magnifier) icon in the tool bar, and Magnifier
window will pop up. Click "Boundary" button, and grid will show. Change the ratio to "x 16". Change the current color to Black, and make a frame with the size of 12 x 14 pixels. Make another frame with the same width, 12 pixels, with 6 pixels apart from the first one toward the buttom. Click "Close" button, and the window will close. |
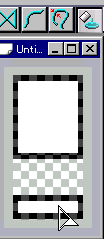 |
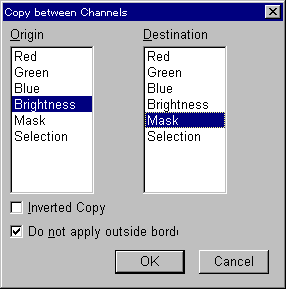
5.
Click "SeedFill" icon in the tool bar, and click within the
top black rectangle. With "Shift" key down, click within the second black rectangle. |
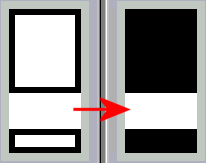 |
6.
Click "Fill" icon in the tool bar, and the white parts inside
the rectangles will change to black. Click "Deselect" icon in the tool bar to release the selection. |
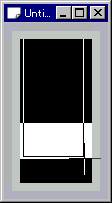 |
7.
With Shift key down, right-drag the size of 12 x 20 pixels. Then the dragged area will be captured as current color. |
 |
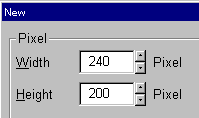
8.
Now open a new canvas to make a complete stripe pattern. Click "New" icon in the tool bar, and open a new canvas with the size of the logo you would like to make. The size of the sample at the top page is 480 x 200 pixels. |
 |
9.
Click "Fill" icon in the tool bar. Now we got the canvas
filled with the desired stripe! Please note that the height between the top edge of a black border and the bottom edge of another black border should be the height of the logo you will make. Calculate a proper height of your text used in the logo. |
 |
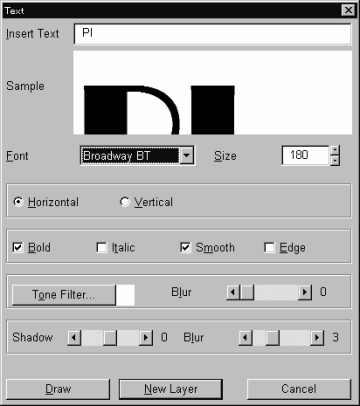
10.
Open another new canvas for text. Make the height of the canvas bigger than the height of the text you decided. |