Step 1: Let's Start From Basics!
![]()
Step 1: Let's Start From Basics!
![]()
7.Important notes on the Eraser
Point 1:
|
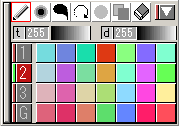
In the P-panel, there is an icon of "Eraser ". |

|
It may not be easy to understand the concept of "erasing color information" so here I would like to explain more using a sample. The background of a newly made picture or a captured image by a scanner
is filled with "white."
|

|
The hair lines that stuck out in the cheek section have been erased by the Eraser. Though you cannot see the difference here, the parts that erased are transparent, while the other background color is white. |
|
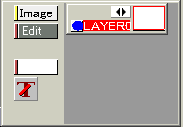
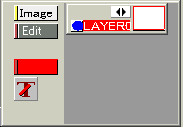
The Layer panel (explained in details in the next section) has a function to make the transparency visible by assigning a color for the part. Click the white lectangle just above the "T" icon. |
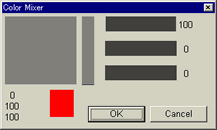
| The window of "Color Mixer" pops out. Let's choose red here. |
| The transparency color is red now. |

|
Now you can see which part is transparent in the picture. |
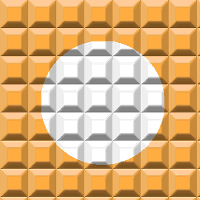
Point 2:

|
Here is a sample picture. I filled orange in a newly made square white sheet, and erased the center with the Eraser. |

|
As explained in the "Point 1", red is assigned to show the part of transparency. You can see the center circle is transparent, not white. |

|
After changing a transparent color to the original "white", You can see the filter did not give effect to the transparent part because
it lacks "color information." |
|
I made another orange square picture and this time I used white pen to make a hole in the center. I used the same filter on this picture, and now the filter got on the central part, too. It is because the center circle has "white color information." Got the effect of the Eraser now? |