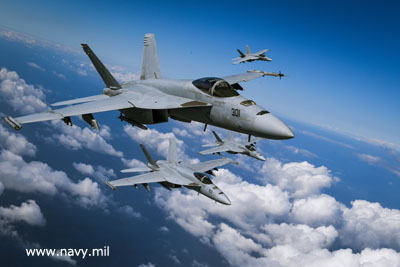
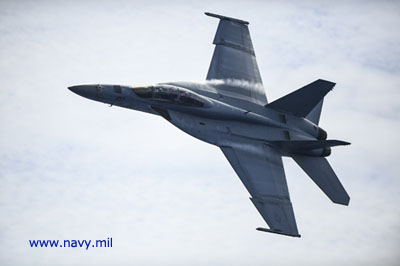

The F/A-18E/F is a carrier-based fighter/attack aircraft of the
US Navy, characterized by light maneuverability and reliability,
and is used for multiple purposes (F is a double seat type). As a
successor to the F-14 and A-6 retired in the 2000s, development
was advanced based on the F / A-18A-D, and in 2001 it began to be
assigned to the US Navy aircraft carrier. It is expected to be
active until the 2040s even after the F-35C is deployed because it
can be improved and adapted to various purposes. It has been
active as the leading fighter-attack aircraft in Top Gun
Maverick starring Tom Cruise, which was released in 2022,
and I think many people were fascinated by its flight. As a jet
fighter, the main wing has a relatively small swept angle and a
large aspect ratio, and has good flight performance even as a
paper airplane. The elongated wing extending in front of the main
wing is called LERX (Leading Edge Root Extension) (or strake), and
in the actual aircraft it is useful for stabilizing the airflow at
high angles of attack, etc.
Print
the downloaded drawing on card stock paper. Please install Acrobat
Reader to view and print. The paper is thick, so set the printer
to thick paper printing such as postcard printing. We recommend
using gray or silver gray paper to create the atmosphere of a
military aircraft.
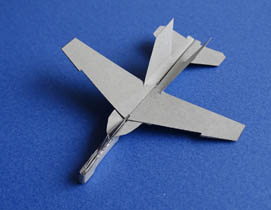
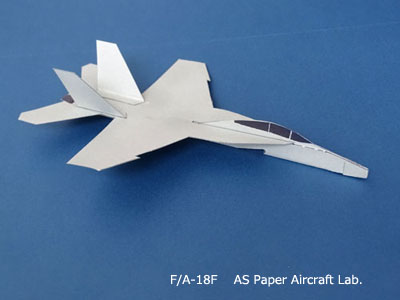
Cut out parts from the template along the thick lines. Dotted
lines and dashed-dotted lines are mountain folds and valley folds,
respectively. Fold the cockpit (pilot seat) part of the fuselage
inward. I prepared a separate cockpit so that I can make a
two-seat type F/A-18F. When making the F/A-18F, cut off the
original (F/A-18E) cockpit along the dashed line, and insert the
F/A-18F cockpit in the same position (matching the shape of the
nose) instead. Spread out the LEFX/main wing attachment part and
the fuselage attachment part horizontally, and attach the main
wing part 2. Attach the main wing and fuselage so that the rear
ends are aligned. It may be more stable if the main wing has a
slight upper half angle. The attachment angle of the main wing and
horizontal stabilizer to the fuselage is slightly different, so
please adjust accordingly. Attach the vertical stabilizers 3 and 4
along the margins and tilt them outward by 20 degrees from the
vertical. The leading edge of the wing is slightly smaller on the
underside (to reduce drag). Paste the nose cover 5 to cover the
nose. The center of gravity is designed so that it fits without
adding weights.
Business card version F/A-18E New!